6.1. Logo/Letterhead
A nice way to personalize your reports, invoices, and receipts can be to include your logo/letterhead on the printouts.
STEP 1: Produce your logo/letterhead
Although LandlordMax has the ability to store and manage your logo/letterhead, you will need to create the image file outside of the software. If you don't have a graphics designer or an existing image file, there are many graphics software applications (including free ones) which you can use to produce your logo/letterhead image that can contain everything from your logo, address, email, to just about anything imaginable. You will need to save the image file in either the JPG or the GIF file formats as show in the image below:
![]()
** Important Tip: The software will insert your image exactly as is, therefore if the image is too large it will be truncated (the software does not resize the image). The size of the image depends on a number of factors, including the dpi and so on, so it's not possible to specify just an image width. That being said, an image at 96dpi should use a width of 470px to fit exactly across the full printed page.
STEP 2: Save your logo/letterhead in LandlordMax
Go to the Preferences menu, click Logo in the menu at the top of the screen, click Get at the bottom of the screen. In the popup window, select your image files and click Save. To help you out, displayed on the right side of the window is a thumbnail preview of the picture you currently have selected.
![]()
STEP 3: Generate a report with you logo/letterhead
The next time you Generate a report and Print it, you will automatically see your logo/letterhead appear at the top of the first page as illustrated below.
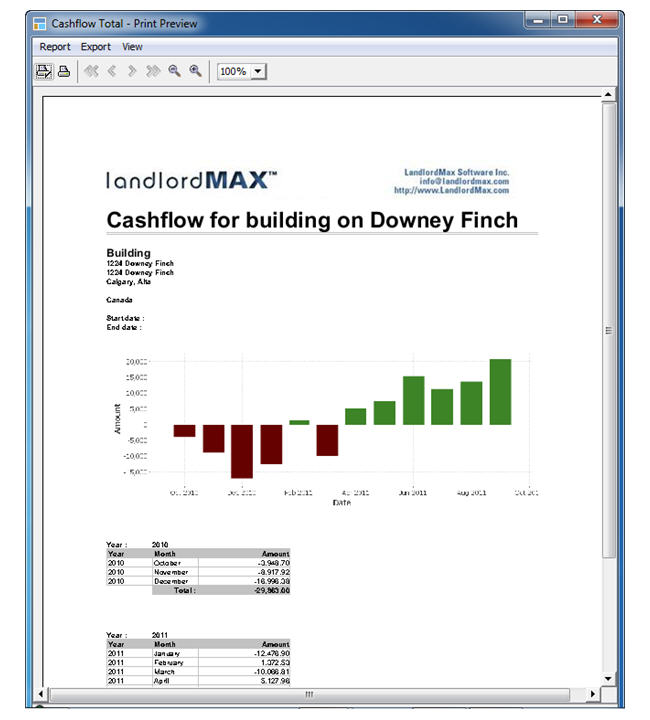
** Please note that if the image is larger than the size of the screen, the software will only shrink the image for display purposes, but not in the printout of the reports. Therefore if you're logo/letterhead on the printout is much too big, you will need to resize the image before saving it in the software.