3.12. Pictures
A picture is worth a thousand words. It can be very useful to illustrate different situations such as repairs done on a building, damages done to a unit, etc. It can also be very handy to have pictures of your tenants and occupants for record keeping purposes. With LandlordMax you can add pictures to your Buildings, Units, and Tenants.
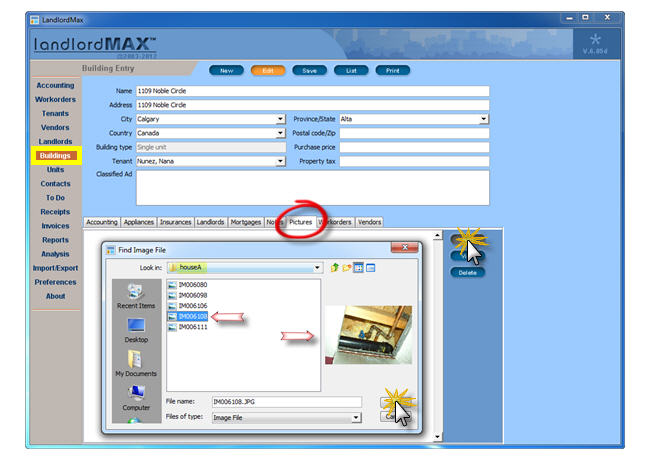
STEP 1: Add a picture
Go to the Buildings, Units, or Tenants Menu, click on the tab Pictures and then click Add on the right side menu. In the pop-up window select the image you want. To help you out, displayed on the right side of the window is a thumbnail preview of the picture you currently have selected.
You can choose to import one or multiple pictures into LandlordMax at a time. To select multiple consecutive picture files, click the first picture file, press and hold down Shift, and then click the last picture file. To select multiple nonconsecutive picture files, press and hold down Ctrl, and then click each picture file. As you import images a window will display a progress bar indicating how many pictures have already been imported and how many still remain.
STEP 2: Adjust the picture description
Once imported, you can change the Picture Description directly below each thumbnail. To do this, right-click on the selected thumbnail picture, select the rename option, and type in your new description. Press the Enter key to accept the editing, or the Esc key to cancel it.

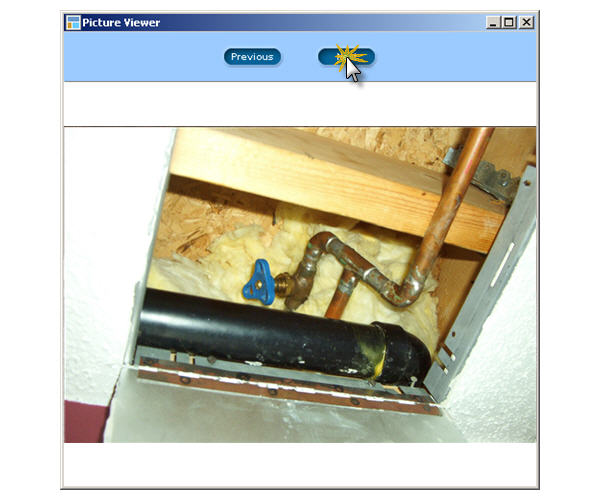
STEP 3: View a picture
You can view the image under the tab pictures in full screen mode by either double-clicking on it, or by selecting it and pressing on the View button. Above the picture, you can click Previous or Next to change the picture to the previous and next pictures in your list. Note that if you change the size of this window, the picture will be automatically re-adjusted (zoomed in or out) to use all the available space again.