1.1. Building and Tenant
The first thing you have to do when you enter our program is to fill up the basic information about each property, tenant and the lease. You can do so within 5 easy steps or less depending of your property.
STEP 1: Define the Property (Building)
The following YouTube video below demonstrates how to create your first building should you prefer a video tutorial.
The first step is to get to the Buildings section of the software. To do this click on the Buildings menu item at the top of the screen.
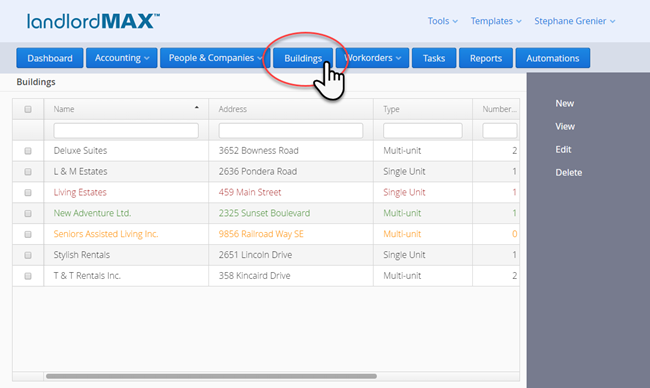
In the Buildings section you then click on the New button.

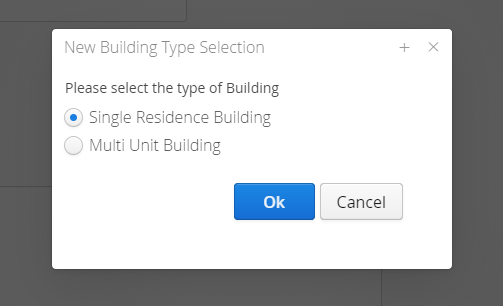
Clicking on the New button will result in a pop-up box asking you to select the type of building as Single Residence Home or Multi-units building.
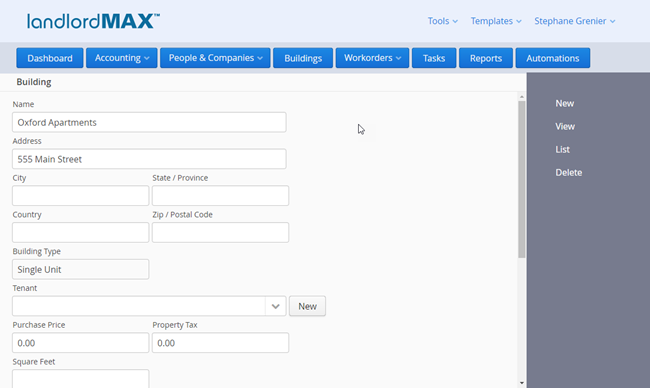
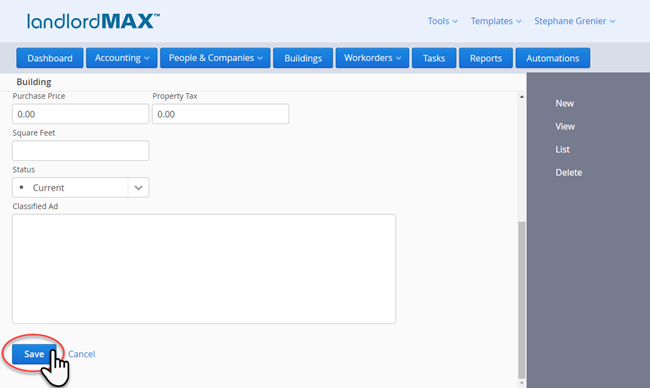
Once presented with the form enter in the building's information as shown below and click on the Save button on the bottom of the form.
STEP 2: Identify the Landlord
The next step is to create a Landlord. To do this go to the Landlords section by first clicking on the People & Companies menu button in the main menu followed by Landlords.
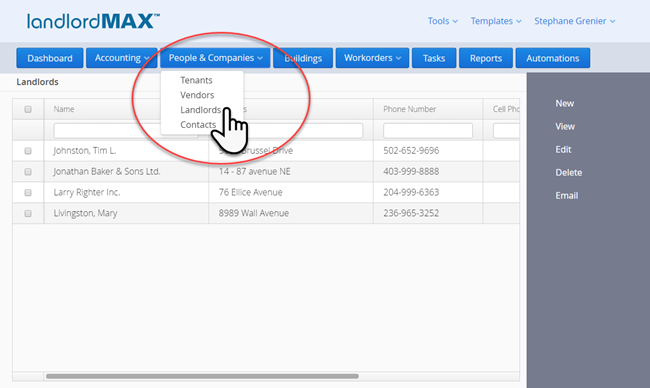
In the Landlords section you then click New in the menu on the right side.

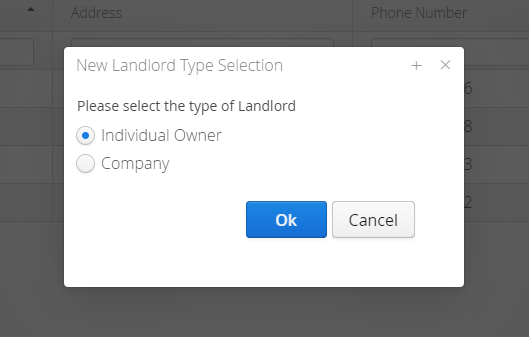
In the pop-up box, select the type of Landlord as Individual owner or Company.
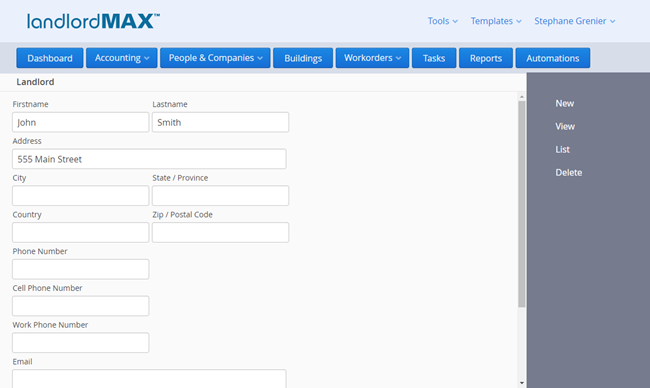
In this example Individual Owner was at which point the name and any other information can be entered and click on the Save button. Please note that you may need to scroll down to see the save button depending on the size of your computer monitor.
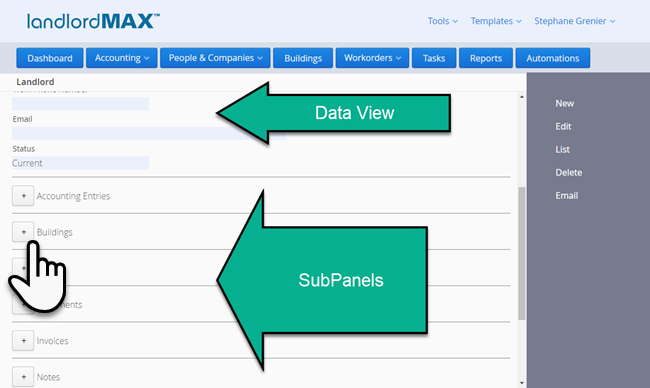
Once you click on the Save button you will be presented with the Data View of the Landlord.
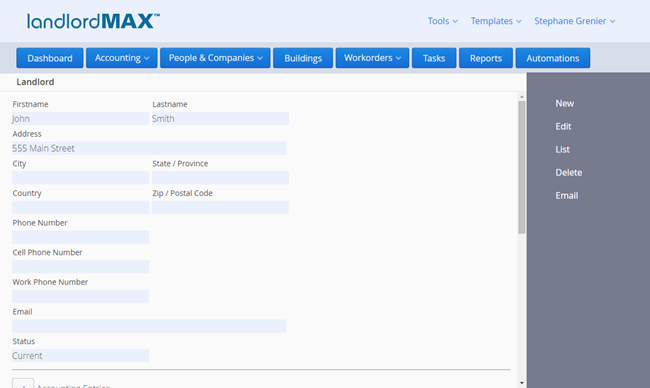
Below the main Data View you will find a list of SubPanels. The SubPanels are lists of all the associated data for the main data, which in this case means that the SubPanels are all the lists of data associated with the Landlord such as the lists of Buildings they own, any Documents associated with the Landlord, and so on. Each SubPanel can be expanded by clicking on the + button and in our case we'll click on the + button for the Buildings.
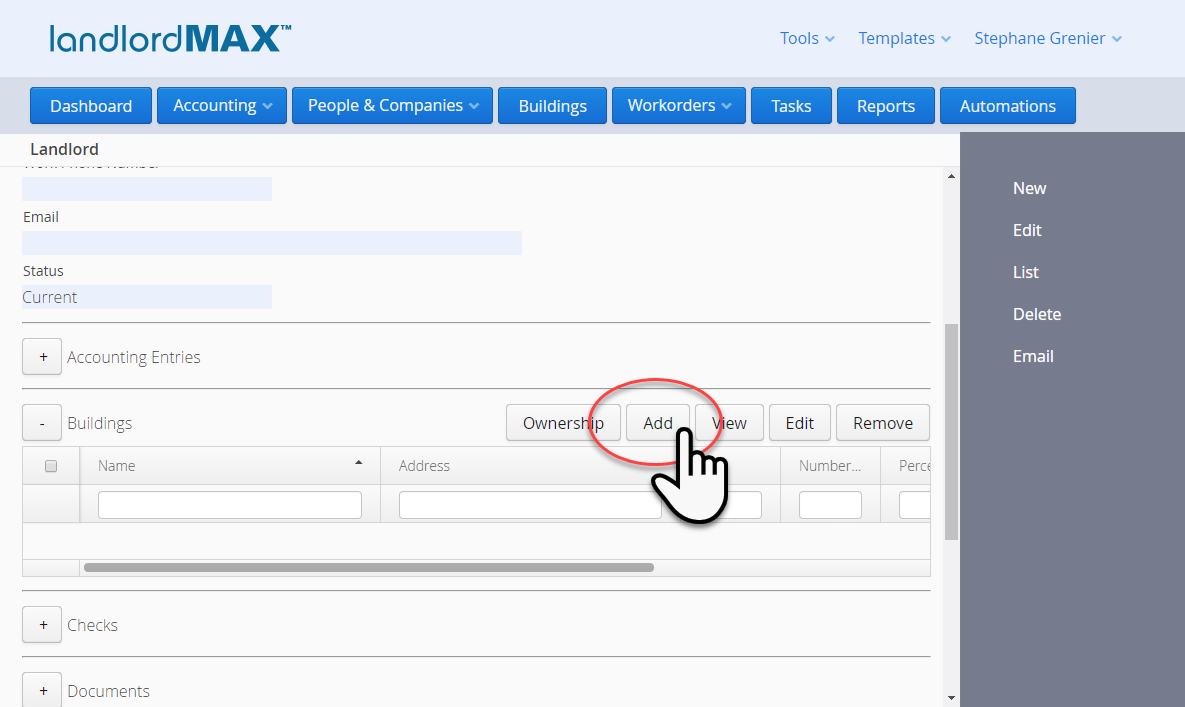
Clicking on the + button will show the list of Buildings that the Landlord owns. In this case since it's a new Landlord the list of Buildings will empty (if you wish to learn more about how the Data Filters work then we recommend this video). Once in the Buildings SubPanel click on the Add button to add a new Building to the Landlord.
After clicking on the Add button you will be presented with the Building Association popup window. Select the Building, which in this case is the building Oxford Apartments that was created earlier (Step 1). Next enter in the ownership percentage (Step 2). Lastly click on the Add button to add the Building to the Landlord (Step 3).
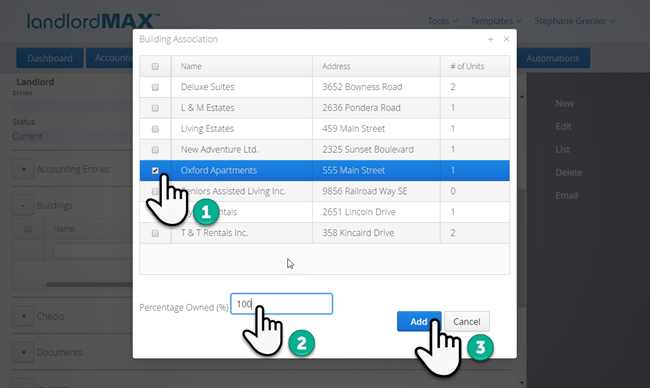
Now associate a building to the landlord in the tab Building by clicking Add and selecting the building from the drop-down list.
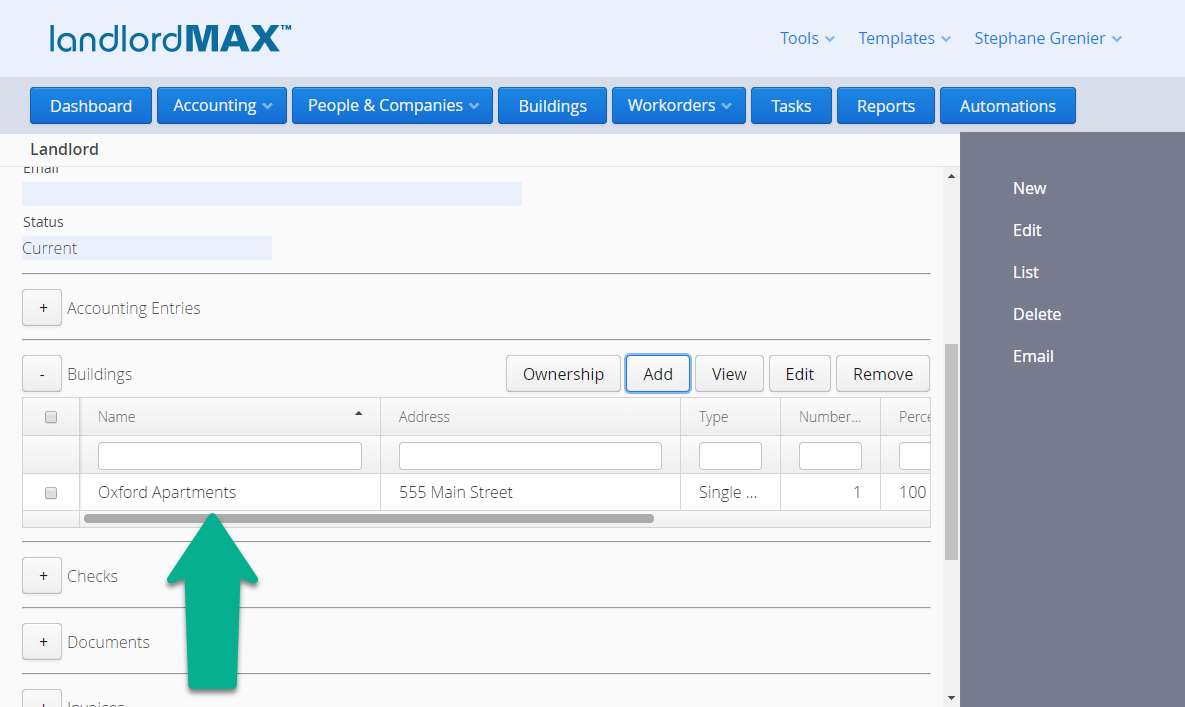
The Landlord and Building have now both been entered and the Landlord owns the Building.