3.4. Tenants
Now that you have defined your properties you need to identify who will live in them.
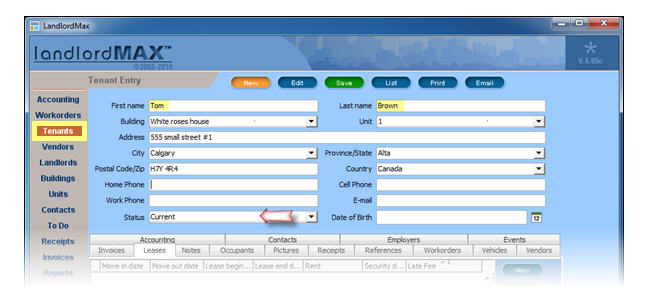
STEP 1: Create a new tenant
To create a new tenant, go in the Tenants menu and click New. In the upper section, enter the name of the tenant, associate a building and a unit and select the Status to "Current". Setting the Status to Current tells the software that the tenant is the currently residing tenant in that Building and/or Unit.
When the Building is selected, the address information for the Tenant will be automatically filled according to the Building information previously entered. This data can be overwritten by simply typing in the values in the appropriate fields.
STEP 2: Fill the info about the tenant
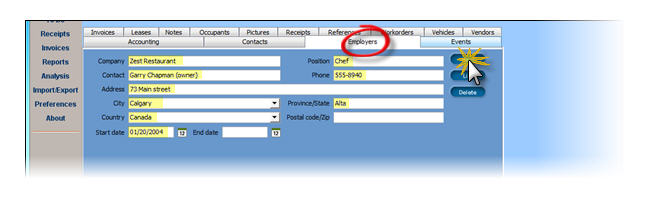
In the bottom portion of the screen, there are many tabs in which information concerning the tenant can be recorded. Data in the tab Accounting, Vendors, Workorders, Invoices and Receipts will appeared automatically from entries filled in the appropriate sections of the software (for example Accounting from the Accounting Entries in the Accounting section of the software)
To enter any other information, click on a tab and then click New or Add in the right side menu.
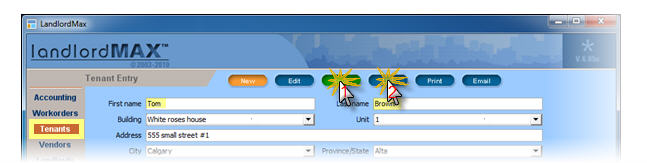
When you are happy with all the information you have entered, click Save on the top menu (the button is green when you need to save and returns blue when done) and then List to return to the main screen. In the main screen, a list of all tenants will be presented.
STEP 3 (Optional): Fill the info about the occupants
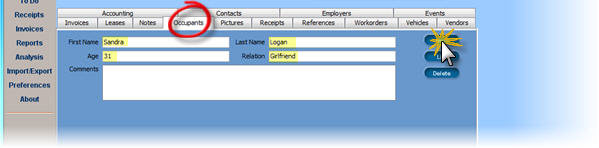
The software allows only one tenant per unit. For scenarios where you have multiple people living in the same unit, we generally suggest you create one principal tenant and define the remaining people as occupants in the tab Occupants.
If however you need the tenants to be completely separated such as a boarding house or where the rooms are individually rented out, then as an alternative we suggest you create additional units for the property, one for each "bedroom" or real unit rented. In other words, Unit 101 that has 4 rooms would actually be unit 101-a, 101-b, 101-c, and 101-d because in effect each bedroom is really its own unit with its own Tenant, its own Leases, and its own Accounting (rents paid, etc.)
STEP 4: Moving out a tenant
First change the Status field (shown above) from "Current" to something more appropriate such as "Past", "Evicted", etc. to correctly represent the Tenant's Status.
Next verify that no Lease is currently active for the Tenant, and if so make the appropriate adjustments. That is possible edit the Lease End Date and/or Move Out Date to correctly reflect when the Tenant actually left. Leases are discussed in further details in the Lease chapter.
Please note that it's possible to have a Lease for a Tenant that is not currently living in the Building and/or Unit, such as leases for parking spaces, college students not living on the property during summer holidays, storage units, and so on.